Papertrey Ink has this wonderful Button Boutique stamp set that is loads of fun to play with.  I made a one 12 x 12 paper book and added the cards to the inside for my sister's birthday.  Perfect, wouldn't you say, for someone who loves to sew.  The paper is retired from Stampin Up.  All the die cuts used in this project are also from  PTI.  Soooo much fun to make these little books that I can't stop making them.  


Here is the inside of the book with all the cards in place and below are all the cards.
Punch Book


Punch Book Inside

I love, love making books.  The little Zutter is getting a work out now that I know how to use it. I find that I don't remember all the cutting tools that I have i.e. punches, die cuts, etc. so I wanted a place to keep track of the tools. Now when I go to do a project I can  find all my options in one place. Magic I tell ya, magic! Now what can I organize and use my Zutter?  I have a book for my Peerless Water Colors, PTI dies and now my punches.  MMM.  Guess I will have to look around my studio and see what calls out to me.


One paper book 


One  paper book for storing copic marker list


Inside copic marker book


Another one paper book


All of the books are made with one 12x12 Stampin Up DS some are from this year and some are retired.

Here is the link to the tutorial.

Envelope Mini Album


I found this tutorial by Laura on - Follow The Paper Trail. The album has a #10 envelope as it's base.  Picking out the papers for this project was probably the most fun.  I made the tags with Stampin Up card stock and the design  paper is from those 5x8 tablets that you can buy at A.C. Moore etc.  I love those tablets because there is a  color theme and all the papers coordinate.  The flower is made with two layers of paper from Tim Holtz's long die cut.


All the stamps used are from Sparkle and Sprinkle. If you have not seen their stamps now is the time to try them. They are very nice rubber and come with a lovely indexing sheet. http://www.sparklensprinkle.com


Back of Envelope Book

Bare bones of the next two mini albums


Try one of these little mini albums but be careful because they are addicting.

Musician Birthday Card

Musician Birthday Card

Peerless Water Color Journal

Peerless Water Color Journal

A long time ago I purchased the Peerless Water  Colors.  The colors come on paper saturated with color.  I wanted a journal with the colors so that it would be easier for me to use.  This is my perfect solution using my Zutter Bind-it-All.  The cover is a page that I found on www.dalebooks.com/dale/nicholson.html.  This site is worth the look as there is a full history of Mr. Chas Nicholson's colors.

A page from inside the journal.  The large piece contains the saturated color and the small dab is a brush stroke of the color.
There are several sites that carry the Peerless Water Colors but there are so many ways to color a stamped image how does one decide.

Stampin Up Awash with Flowers
I found a version of this card on WWW.stampinbetty.wordpress.com and I have a picture on my Pinterest Stampin Up board.
I loved this card so thought that I would try to make it with my color combo.  I just got this stamp set and my first set of Copic markers so had to try them out.  Love both.  The markers are so easy to use which makes it much more fun and decreases the learning curve.  Thanks to Betty for her creativity.  I have her card on my Pinterest account.  Hope you enjoy my version and Betty's as well.  If you have not tried out Copic markers and/or bought this stamp set think about doing so real soon.


Awash with Flowers
I got this idea from sandimaciver.com. Hopefully after I have used my Copic markers and this stamp set I will create my own designs but in the mean time it is quite fun to work with these two products no matter the source.  Like to always give created for the designs that I create.  In this card Whisper White craft ink from Stampin Up was used to stamp the images and then Prismacolor pencils were used for color.  What fun.

Papertrey Ink Forum • Post a new topic

PTI Die Cut Book Cover
PTI Die Cut Book Inside


Papertrey Ink Forum • Post a new topic

I had a lot of fun creating this little book for cataloging my dies. I store the dies in a CD case storage box that I got at Target. The storage box was not my idea but one that I found on this forum-it works great. I wanted a way to flip through a book to find the location of a die. I made a die cut of each die and ran it through my Xyron machine, attached it to a page and noted the sleeve number where it was stored. I made the book with my Bind-it-All with extra pages for my growing die collection. I have only used the Bind-it-All once or twice so I watched a video on YouTube to remind me of the steps and it is so much more simple than I remembered it to be.

Wish that I could remember who had the idea for the CD box. If anyone knows please post it. In the meantime I will look for her name.

Did you ever......

love a card so much you just copied the best parts and did very little of your own editing?  I can't remember where I saw this card but will let you know as soon as I find it.
Button Boutique from PTI
Graduation card for the co-designer of my blog.  Love the colors and style.  Hope that he doesn't think it too fem.

Button Business

Of course another great set from PTI.  This Blooming Button Bits is very versatile and fun to work with. I used a large brad to make the flower.

Gracious Vases from PTI


I am having so much fun with this set from Papertrey Ink.  Easy to create little bits of fun.  The words in this set are nice and some will even fit on the vases they are so tiny.  You can visit PTI with the link to the right to purchase your own set.

It's A Patchwork Life: Buttons, Buttons, Buttons

It's A Patchwork Life: Buttons, Buttons, Buttons

Make it Monday #20

Here is my version of the reverse masking technique.  I used Mat Stack #1, Larger Than Life, Handwritten Notes, Background Basics Chevron Stripes.   This is my husbands birthday card.  Fun technique!

Make it Monday #19

My MIM this week uses the Modern Basics PTI set.  Unbelievable to make flowers out of the pieces in this set.  Fun project to make this card with the rock and roll technique.

Make it Monday #18

This was a very fun and easy card to make.  The technique this week was to use tissue paper on your card. My anniversary gift was packed with this cute tissue paper so used it in the project.  I use the Green Thumb stamp set flower on the glossy card stock and then added the tissue paper.  The color was added to the glossy card stock with a cotton ball and 3 different colors of re-inkers.

Rob's Anniversary Card

We have been married for 28 years and we really like it.  My husband, Rob, loves House Mouse so for every occasion I make a card with these tiny little cute creatures.  I made the paper with 3 colors of SU re-inkers on glossy card stock.  I stamped with Stazon black ink and colored the flowers with alcohol based markers.

Make it Monday #16 Sympathy

My favorite day of the week with PTI. Here is my version of a Sympathy card with PTI stamps.

Made it Sunday

Papertrey Ink has Make in Mondays, which I love to do .  Since today is Sunday and I felt like creating here is my little creation with stamps and design from PTI. The "Thanks Chickie" stamp is from Handwritten Notes and the leaves etc. are from Blooming Buttons Bits.  The color combo is suggested by PTI designers but made with SU paper.  What fun!

Blog Design Session

I didn't like my old blog design but didn't know how to change it to something that I would like.  I asked my computer savvy neighbor to help me out.  Here we are hard a work, I like what we have done.
Blake and Tricia  May 15, 2011.

Make it Monday #13

My version of todays Make it Monday technique.

Happy Birthday


My first attempt at using the dies to cut felt.  The felt cuts like butter, so easy I was very surprised.  I used the technique for the line frame that was done on Make it Monday #12.  I think that my girlfriend will really like this card and the fact that she doesn't know anything about PTI it will be quite special for her.
Supplies
PTI dies and felt
SU paper and ink
unknown ribbon.

Mother's Day Card

I pretty much copied this design from Dawn McVey who did this card to introduce the new Delightful Doilies stamps and dies.  I used different color combos and the Mat Stack label.  I used a button that I had in my stash (I collect them from yard sales).  Doesn't it match perfectly?
Enjoy and for all you mothers out there I hope you have the greatest Mother's Day ever.
Supplies
PTI Stamps and Dies
SU Card Stock and ink


Make it Monday #12


My second Make it Monday project.  
Supplies
PTI stamps and die cuts
SU card stock and ink
Stickles

For You Card by AJ Otto

For You Card by AJ Otto

Papertrey Ink Make it Monday #11

My first Make it Monday contribution. What fun!  This weeks challenge was using PTI dies to emboss a project.
Supplies:
PTI lemon tart CS
Other papers from SU
PTI stamp set Mat Stack 2  Collection
Delightful Dahlia Die and Mat Stack 2 Die
Inks from SU
Embellishment Recollections

Gracefularts: Resist Card

Gracefularts: Resist Card: "This card shows resist stamping. Products used:Stampin up paper, ink, die cuts Versamark Clear Embossing poweder Ranger's liquid pearls Pear..."

Punch Index To Go

3.5 x 2.5 cards for punches


I needed a way to organize my punches so that I could take it along shopping.

I punch a new punch onto 3.5x2.5 (the size of an ATC), label it with a clear printed label, slip it into a baseball card sleeve and attach it to the ring.  The clear label that I used is Avery 8667.  Avery has a free program to download that is actually quite good.  You can set it up and make your own templates and save your work.

This set up is a good way of testing a punch size for sentiments or stamp images to see if they will fit with that particular punch.  Just place the punch out over the image that you want to use.

I am thinking of doing a similar project for my PTI dies.  I will choose a size paper to accomodate the largest die cut and use it to punch out the item.  With this I can check the die cut size to work with images or sentiments that are not PTI.  A plus is that I will have all the die cuts that I make from doing this.

Cutting the 3.5 x 2.5 cardstock
Use a 8.5 x 11 sheet of cardstock
On the 8.5 side make the first cut at 3.5.  Cut the 5" that are left at 2.5.
Take the 3.5 x 11 piece and cut in at 2.5
Take the 2.5 x 11 pieces and cut them at 3.5.  
There will be very little waste with this method.

I haven't done one for the PTI dies but will post when I have it done.
I love to organize my "stuff" and play with my toys so this is a bonus project.
Enjoy and let me know if you have any questions.
Label on cardstock
I also us these cards to index my punches

Butterfly Kisses and Ladybug Hugs

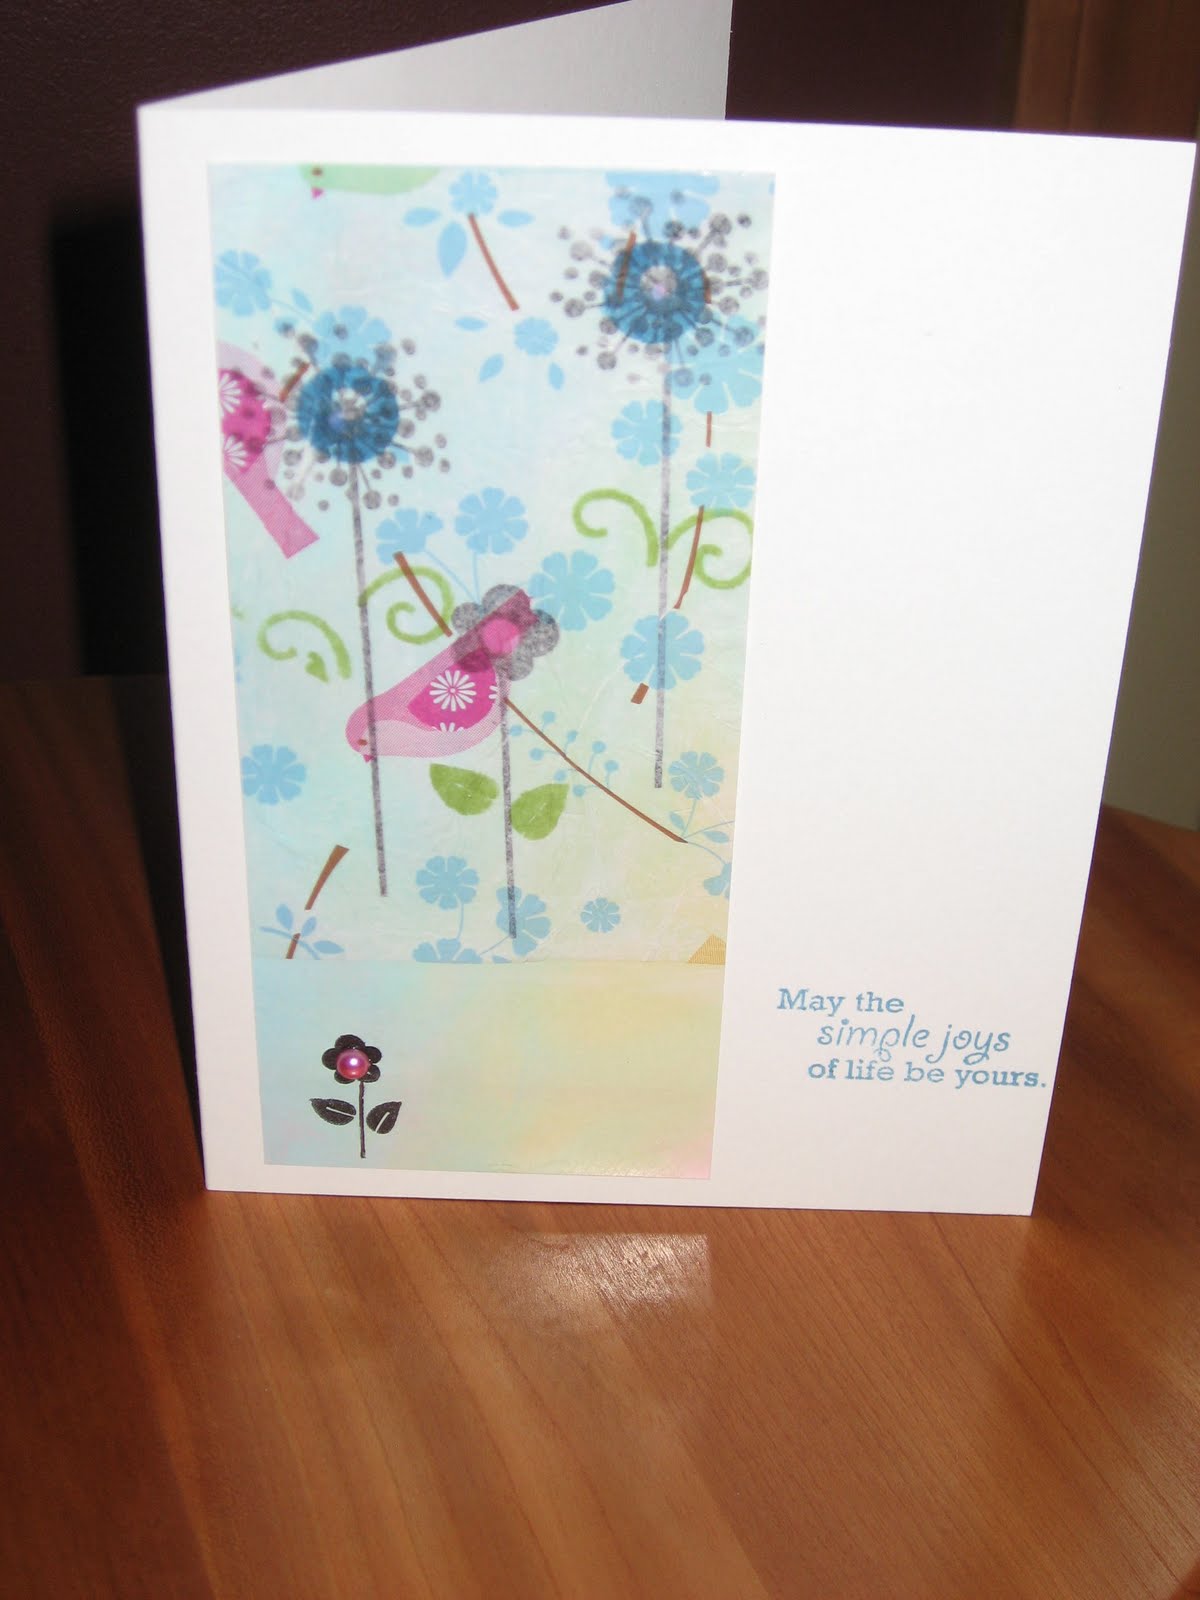
I find designing with new stamps hard at first until I figure out how the stamps fit together.

Products
  • Papertrey Ink Beautiful Blossoms II stamps with BB die cut
  • Papertrey Larger Than Life Die
  • Saying from Sparkle N Sprinkle
  • Stampin Up ink.
I used this card for a baby gift.

Resist Card

This card shows resist stamping.
Products used:
  • Stampin up paper, ink, die cuts
  • Versamark
  • Clear Embossing poweder
  • Ranger's liquid pearls
  • Pearl embellishments
  • Background small stamps and ginkgo leaves from Sparkle N Sprinkle www.sparklensprinkle.com
This card was really fun to make.
Here is a link to the artist who inspired this card. www.creationsceecee.com

Papertrey Ink Delightful Doily Celebrate Card

This is my first card created with my first Papertrey Ink order. I used a thick block to stamp the images on the die cut and had a very hard time getting it centered. I read on stamptalk with PTI that using a thin block made magic out of centering it. I don't have any problem with stamping it now.

I used Stampin Up ink and tiny stamps from another PTI set. The paper is from one of those pads that you can pick up at AC Moore or Michael's. That kind of paper makes for a very CAS card.

Let me know if you have any questions about the other elements of the card.
Enjoy!

Beginner

I am learning how to create my own blog as a way to share my creations and share links to the resources that I have found extremely helpful.